

This guide is a reusable template. The steps below are vendor-agnostic. To migrate from a provider (Statsig, LaunchDarkly, Optimizely, GrowthBook, OpenFeature, or any setup), substitute that vendor’s export API in each “Export” step — the Mixpanel side stays the same.
Migration overview
A complete migration has five parts:- Migrate past experiment exposure events so your historical results carry over.
- Migrate feature gate, experiment, and dynamic config configurations (both the setup and the reporting).
- Complete setup of Feature Flags and Experiments in the Mixpanel UI.
- Recreate critical flags and experiments in your application code.
- Verify migration status, including number of feature flags migrated and exposure count.
Step 1. Migrate past experiment exposure events
An exposure event records that a user was enrolled in a feature gate, an experiment, or a dynamic config, and was exposed to a specific variant. To keep your historical data, export your existing exposure events from your current vendor and ingest them to Mixpanel as$experiment_started events.
Export exposure events from your vendor
Most vendors have a dedicated exposure event you can export. You can usually export them directly from the UI or by using the vendor’s API. You will need the following fields at minimum:- The enrollment ID: user ID, device ID, or group ID exposed to the experiment or feature flag
- Timestamp of the exposure
- The experiment or feature flag name
- The assigned variant
$experiment_started event can be found here.
Equivalent events
Each vendor has its own definition of exposure event and they can be mapped to Mixpanel’s exposure event depending on the Mixpanel Feature Flag type (feature gate, an experiment, or a dynamic config). Use this table to find the equivalent for your setup:Import events into Mixpanel as $experiment_started
Transform each exported exposure row into a Mixpanel $experiment_started event and send it through the Mixpanel Import API.
Ensure Experiment name and Variant name are correctly translated. Keep the original exposure timestamp so historical analysis is accurate, and include a unique $insert_id so re-runs don’t create duplicates.
Step 2. Migrate feature gate, experiment, and dynamic config configurations
Now that you’ve brought over your historical exposure data, it’s time to bring over the configurations themselves. This section guides you in moving configurations for experiment and feature flag setup, as well as, experiment reporting.Export configurations from your vendor
Your vendor may have a UI export, API export, or warehouse export options. Ensure you list and fetch definitions for feature gates, experiments, and dynamic configurations by consulting your vendor’s documentation.Import the setup via Mixpanel API
Recreate each configuration in Mixpanel using Mixpanel APIs. Create experiments first, then the feature flags that reference them. You can refer to the Mixpanel Feature Flags API for more details.Experiment
You will need to make two API calls:- Create Experiment: POST
/api/app/workspaces/{workspace_id}/experiments.- This creates the experiment entity.
- Create Feature Flag: POST
/api/app/projects/{project_id}/workspaces/{workspace_id}/feature-flags.- This creates the feature flag that references the experiment.
- For an Experiment, the key is to provide values for
experiment_id,is_experiment_active, and ensure the control and treatment values in theruleset.variants.valueare sent as strings.
Feature Gate
- Create Feature Flag: POST
/api/app/projects/{project_id}/workspaces/{workspace_id}/feature-flags.- For a Feature Gate, ensure you specify the control and treatment values in the
ruleset.variants.valueas a boolean value.
- For a Feature Gate, ensure you specify the control and treatment values in the
Dynamic Config
- Create Feature Flag: POST
/api/app/projects/{project_id}/workspaces/{workspace_id}/feature-flags.- For a Dynamic Config, the key is to specify the control and treatment values in the
ruleset.variants.valueas an object.
- For a Dynamic Config, the key is to specify the control and treatment values in the
Step 3. Complete setup of Feature Flags and Experiments in the Mixpanel UI
Now that you’ve recreated your flags and experiments base configurations through the Mixpanel API, complete the rest of the detailed setup via Mixpanel UI.Feature Flag setup
There are custom configurations that require additional effort to set up in Mixpanel, such as user targeting, rollout conditions, and runtime evaluation. Set these up in Mixpanel directly under the Feature Flags menu by searching for the name of the feature flag that you have created via the Mixpanel API.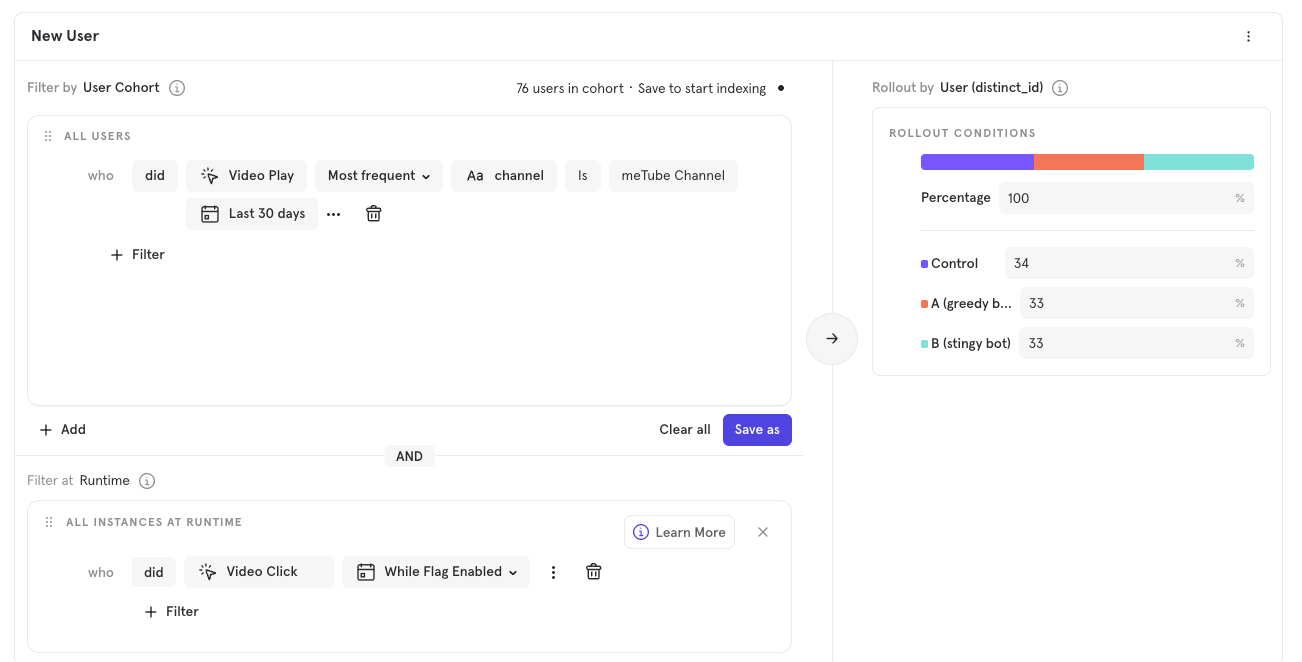
Experiment setup
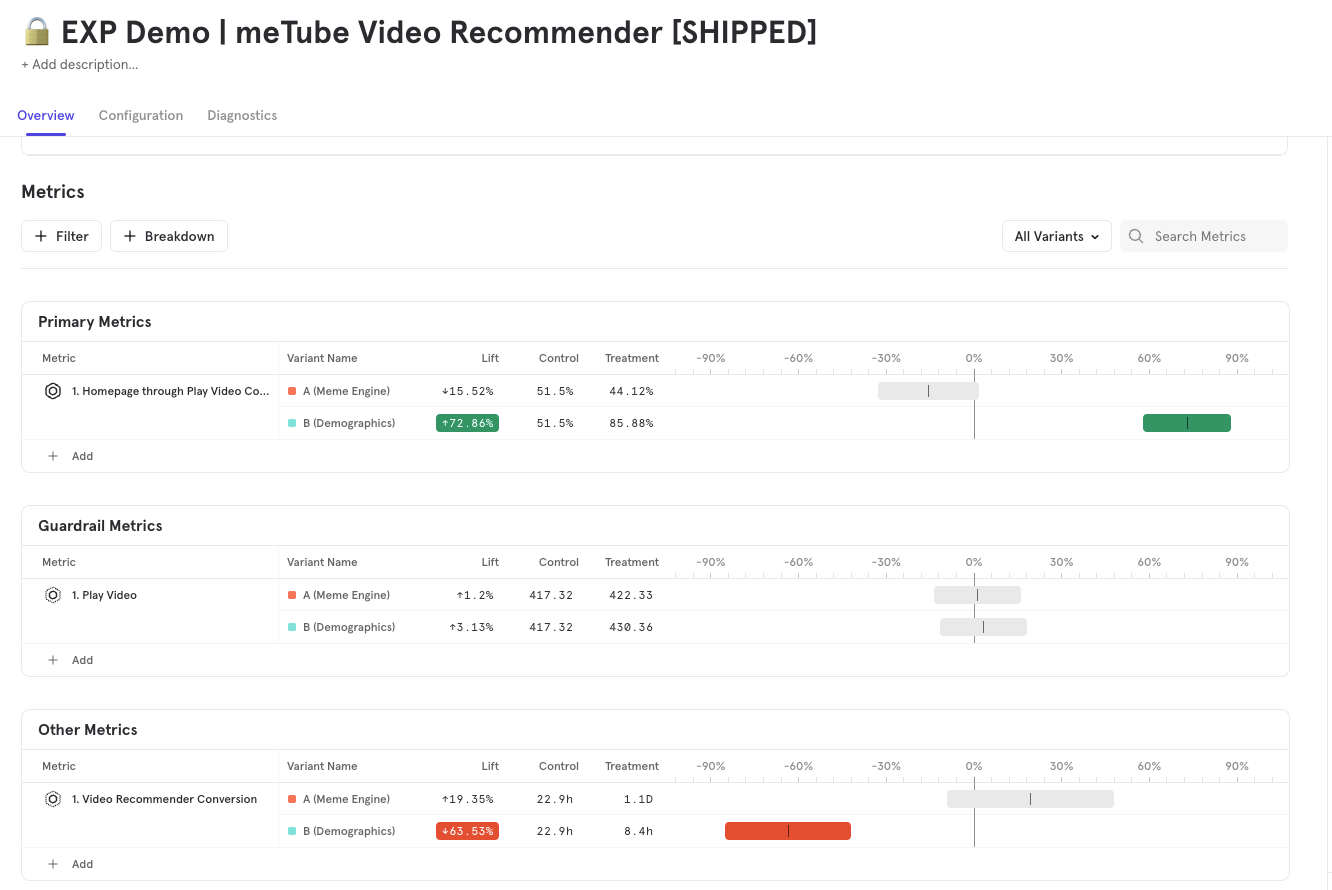
This step is only relevant if you have imported experiments into Mixpanel. A corresponding Mixpanel Experiment report will be created for every experiment you’ve imported. You will need to continue populating this experiment with the right configuration and metrics. Go to Experiments menu, and search for your experiment by name.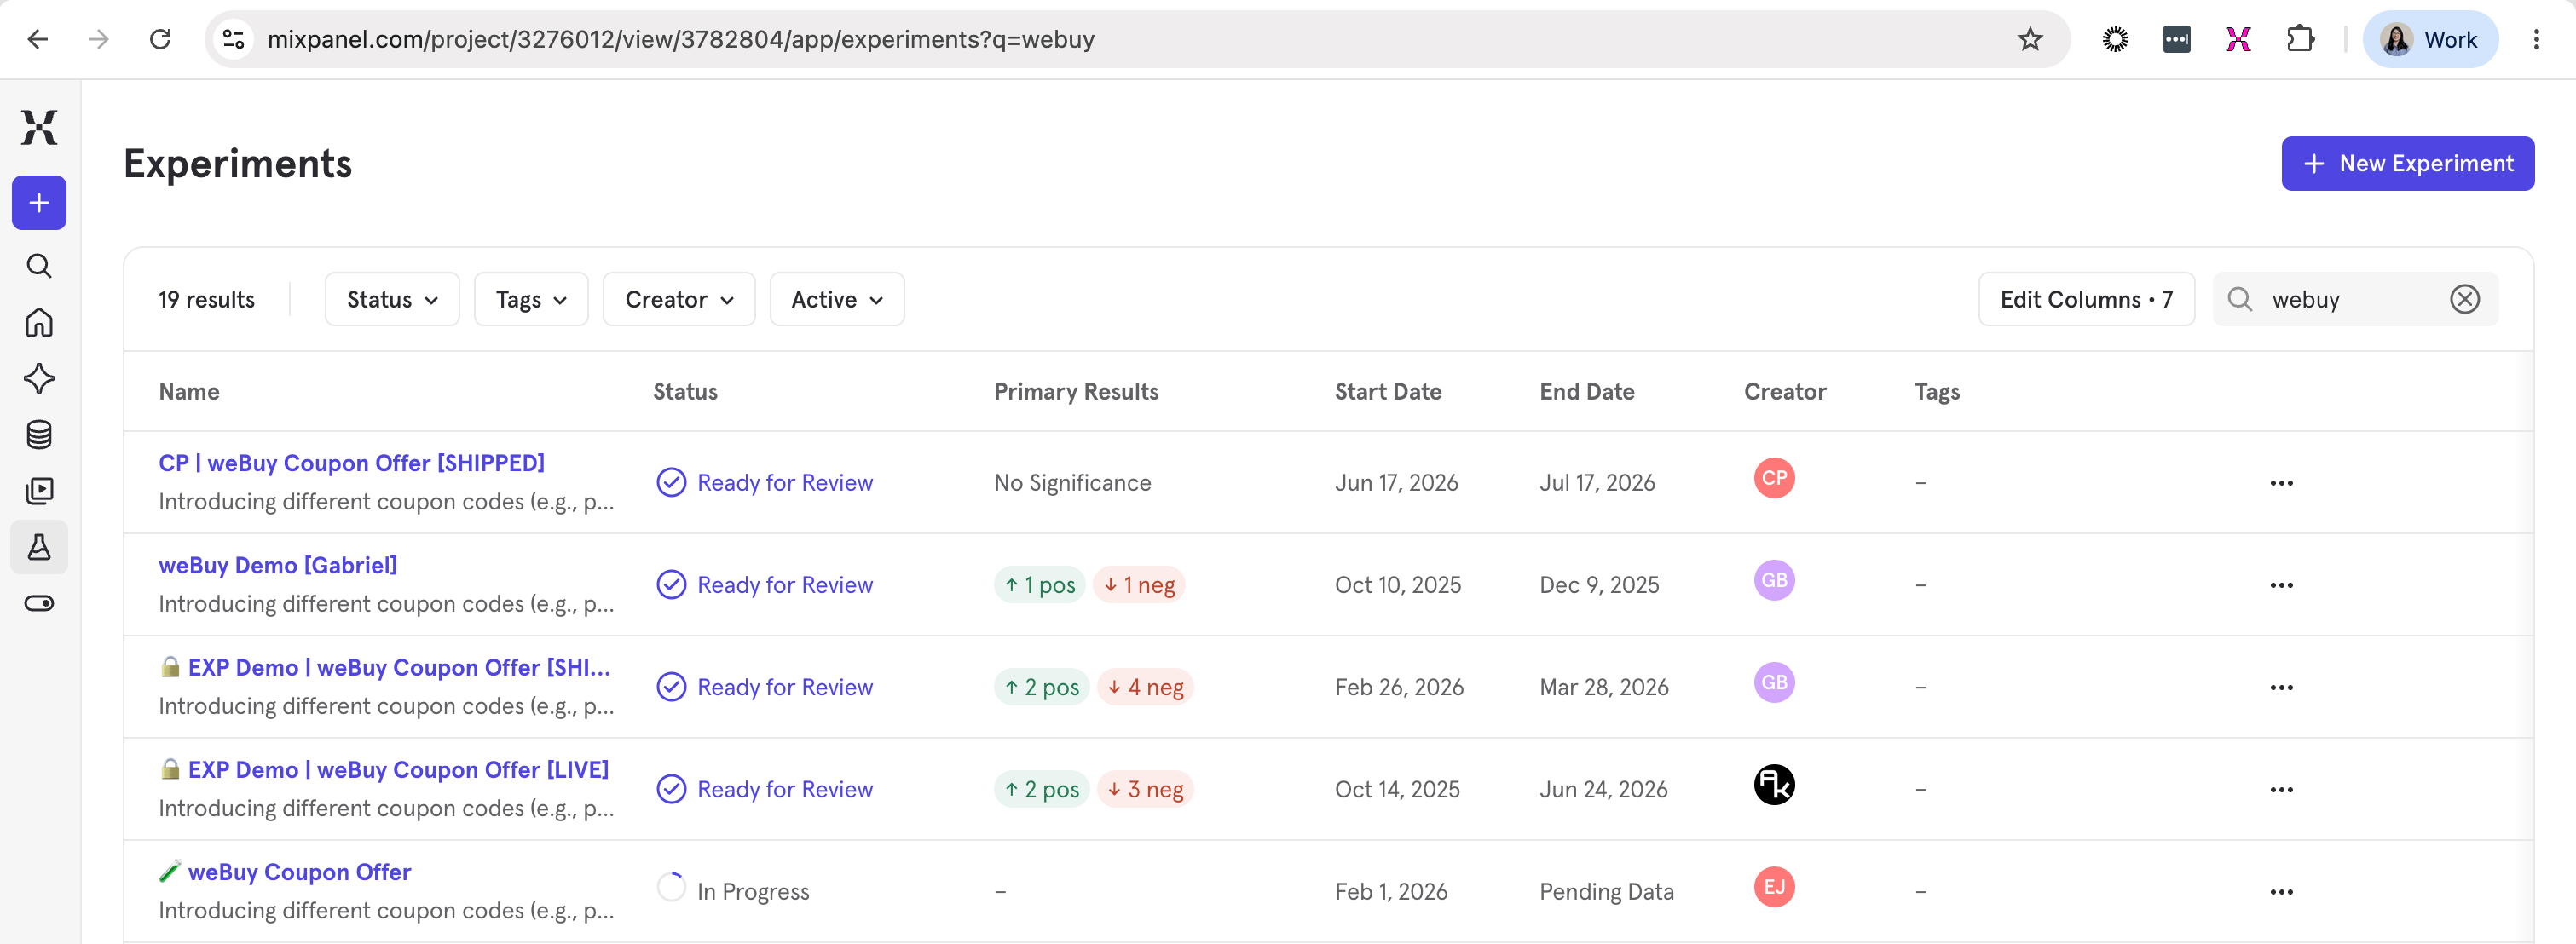
Step 4. Recreate critical flags and experiments in your code
With your feature flag configurations now migrated to Mixpanel, update your application code to use Mixpanel methods for flag evaluation and exposure. How much code changes depends on how your code calls your flags today. In the case of live experiments, migration will result in users getting reassigned to a different variant mid-experiment. We recommend completing any existing experiments and importing the historical exposure events into Mixpanel, then launching the equivalent experiment fresh in Mixpanel post-cutover.- If your code uses OpenFeature: Swap the provider — replace your current provider with the Mixpanel provider and leave your existing evaluation calls unchanged, as long as your flag keys are carried over identically.
- If your code uses your vendor’s SDK directly: Replace those evaluation calls with the equivalent Mixpanel SDK calls for your language (for example, a boolean gate check becomes a Mixpanel boolean flag evaluation; a dynamic config read becomes a Mixpanel variant/JSON lookup).
- Add a fallback during cutover (recommended): Wrap your Mixpanel flag calls so that if a value can’t be retrieved, the code falls back to the same value as configured in your previous provider. This lets you run both systems side-by-side and confirm parity with no risk.
- Switch over and clean up: Once you’ve verified the Mixpanel flags behave correctly in production, route fully to Mixpanel, then remove the fallback and the old provider’s code. Keep a thin wrapper around flag evaluation as a facade so future changes happen in one place.
Step 5. Verify migration status
Ensure you run a parity check. Things to verify include:- Number of feature flags migrated.
- Feature flag exposure count — for number of users that were included in feature flag, as well as total number of exposure events.
- Variant splits in feature flag setup — number of variants and rollout ratio match.
- User variant match — QA on individual user levels for variant assignment.