

Overview
Export Mixpanel cohorts to Wingify to create custom segments that you can apply in your Wingify experiments. Manage the Wingify integration from the Mixpanel Destinations page.Wingify was formerly known as VWO. If you set up cohort exports before the rebrand, you may still be using the VWO destination, which remains available for existing connections.
Permissions
You must be a Mixpanel project admin to enable the Wingify integration.Enable the Integration
To enable the integration:- Navigate to Setting in the nav bar, then select Destinations.
- Click Add Destination, search Wingify and click.
- In the Connect to Wingify modal, fill in the required fields:
- Connector Name - a name to identify this connection in Mixpanel.
- API Key - your Wingify API key.
- Where is your Wingify’s visitor data stored? - select the datacenter that matches your Wingify account. This sets the regional endpoint Mixpanel exports your cohorts to.
- Click Continue. The Wingify integration will show a Connected tag in the UI once the connection establishes.
Matching Users between Wingify and Mixpanel
Warning: Projects using the simplified ID merge system must have the $user_id in Mixpanel match the user identifier in the partner service. Using any alternative partner properties to match users between tools may result in partner events not being attributed to the correct user in Mixpanel. Any partner properties mentioned in the below section are primarily applicable to projects on the original ID merge system.
Mixpanel only exports identified user profiles that have the $wingify_user_id property, whose value should equal a matching User ID in Wingify (anonymous users will not export); the Wingify SDK sets this property automatically, or you can declare it through Mixpanel’s own SDKs or HTTP API.
Export a Cohort
To export a Cohort to Wingify:- From the Destinations page (recommended)
- From Lexicon
- Navigate to Setting in the nav bar, then select Destinations.
- Find the Wingify destination in the list and click on it.
- Click Add Cohort Sync.
- Select the cohort you want to export and configure the sync (one-time or dynamic). Click Create Sync.
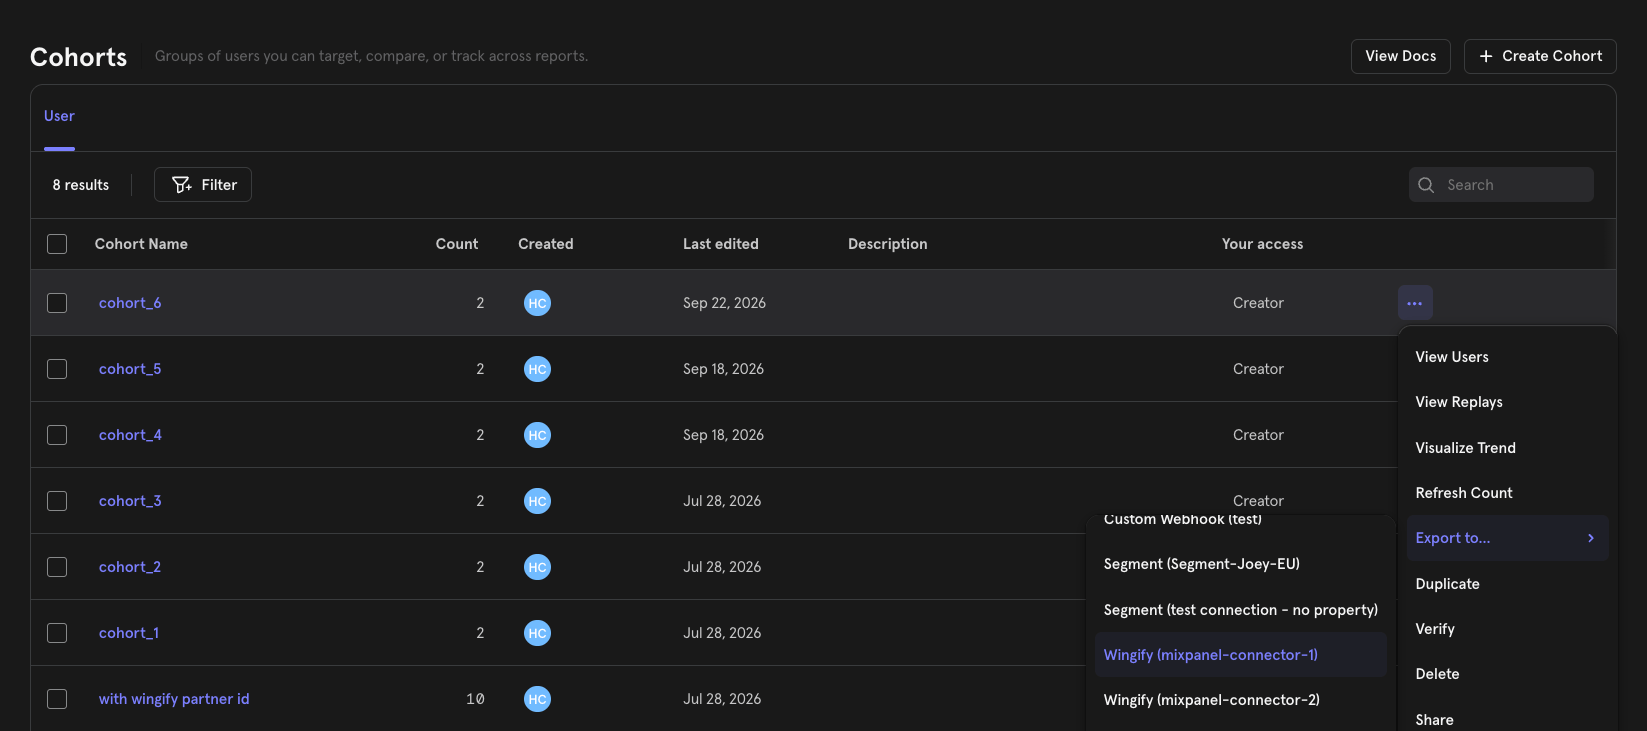
Activate the Cohort in Wingify
After you start a sync, complete the setup in Wingify:- In Wingify, open the Mixpanel integration, go to the Config tab, and find your connection by its connector name. Click its Cohorts Synced link, then click Add cohort and select the cohort Mixpanel exported by its name.
- Once added, Wingify begins ingesting the cohort’s members and the segment becomes available for experiment targeting.
$wingify_user_id. The cohort’s members are only searchable after you have imported it and the next sync has finished.